
We lease, sell and service copiers and printers, and we help you choose the right device and the right consumables for your model and brand.
Help guide: Konica Minolta and Develop copiers – fix it yourself
A paper jam, an error code on the screen, scan to folder that stopped working – most of these can be solved in a few minutes without waiting for a technician. Below you will find step-by-step instructions for Konica Minolta bizhub devices and their sister models, Develop ineo. If the problem keeps coming back, call us – a person will answer, not an automated system.
Separate articles
Paper jam in the document feeder (ADF)
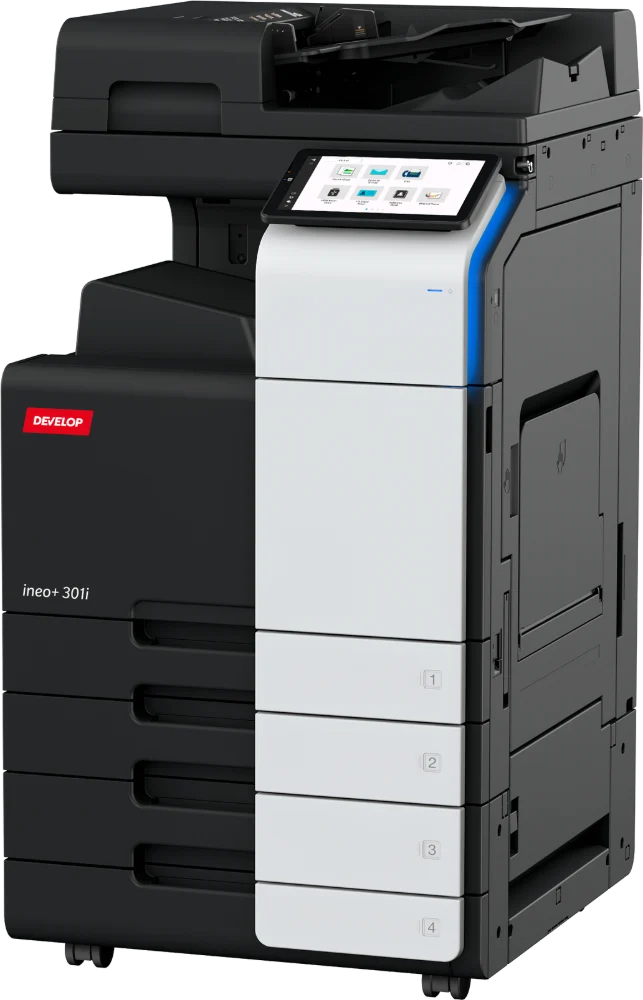
- Do not pull the sheet out through the feeder slot by force – first open the left cover of the ADF by lifting its lever.
- Gently remove the original, pulling it with both hands in the direction it was being fed. If it resists, turn the green dial to move the sheet out.
- Lift the document feed tray and check that no sheet is left underneath.
- Lift the whole feeder and check the scanner glass – the sheet may have stopped at the exit.
- Close the covers until they click, straighten the originals and load them again. The screen tells you from which page to resume.
Most common causes: staples and paper clips, folded corners, sheets stuck together with correction fluid or tape, too thick a stack, mixing thin and thick paper. Scan receipts, clippings and torn sheets from the glass.
Call service if the feeder takes several sheets at once or jams on clean, flat originals – this usually means worn pick-up rollers.
When closing the guide inside the feeder, press it in the middle (at the hand symbol) until it locks – if it is not fully closed, jams will repeat. Manufacturer illustrations: paper jam in the ADF – Konica Minolta manual (bizhub 361i/301i).
Paper jam in a tray or inside the device
- Look at the screen – the device shows the number of the jam location and an animation with the order in which to open the covers. Follow that order.
- Open the right-side door and remove the paper slowly, with both hands, in the direction of its travel, so that it does not tear.
- Pull out the tray shown on the screen and remove the creased sheet from inside it and from the feed area.
- Take out the ream, fan it, straighten it and put it back. Slide the guides up to the paper and do not exceed the maximum height mark.
- Push the tray in fully and close the door. If the message stays, check all locations from the screen again – a small scrap is often left behind.
Caution: the area around the fusing unit behind the right-side door is hot. Do not use scissors, tweezers or a screwdriver – it is easy to damage the drum and the transfer belt.
Most common causes: damp paper (keep reams in their wrapping), wrongly set guides, an overfilled tray, paper of a different size or weight than set on the panel. If the paper tore and you cannot see the whole sheet – call us and do not keep printing.
To pull out tray 1 or 2, release its lock first. When removing paper from inside the device, do not touch the surface of the transport rollers and avoid areas marked “Caution HOT”. Manufacturer illustrations: right-side door, paper trays, other locations and finishers (Konica Minolta bizhub 361i/301i manual).
Most common Konica Minolta error codes
A code starting with the letter C means a fault the device detected itself. Before you call:
- Write the code down or take a photo of the screen – it may disappear after a restart.
- Turn the device off with the main power switch, wait at least 10 seconds and turn it on again.
- If the code returns, do not restart repeatedly. Give us the code and the model – we can often tell over the phone which part to bring.
| Code | What it means | What you can do |
|---|---|---|
| C0202, C0204, C0206, C0208 more about this code |
The paper lift mechanism in a tray (trays 1–4 respectively) did not work correctly. | Pull out the tray, remove excess paper, adjust the guides and push it in fully. Restart the device. Print from another tray until the technician arrives. |
| C0211 | Problem with the bypass tray mechanism. | Remove the paper from the bypass tray, close it and restart the device. |
| C2551 – C2558 more about this code |
Abnormal toner density in the developing unit; the number indicates the colour (cyan, magenta, yellow, black). | Restart once. If the code returns, stop printing and call service – continued use may damage the developing unit. |
| C3421 – C3425 more about this code |
The fusing unit does not reach its operating temperature. | Turn the device off and call service. Do not switch it on repeatedly. |
| C3721 – C3725 | Fusing unit temperature too high. | Turn the device off and call service. |
| C3821 – C3825 | Fusing unit temperature too low. | Restart once; if the code returns – call service. |
| C4xxx (e.g. C4101) | Laser unit – for example the polygon mirror motor. | Restart once; if the code returns – call service. |
| C5xxx (e.g. C5102, C5351) | Drive motors or cooling fans. | Check that the ventilation openings are not covered and that the device is not next to a heater. Restart; if the code returns – call service. |
| C6xxx (e.g. C6704, C6751) | Scanner module – drive, lamp or image sensor. | Restart. Printing from a computer usually still works despite a scanner error – let service know. |
| CDxxx (e.g. CD002, CD004) | Hard disk or device memory. | Restart. Do not switch the device off while it is saving. If the code returns – call service. |
| P-xx (e.g. P-21, P-27) | Automatic image stabilisation or colour correction failed. | Restart and check whether the screen asks for a toner or drum replacement. If the code returns – call service. |
| Paper jam + location number | Paper stopped at the location shown on the screen. | Follow the animation on the panel – see the instructions above. |
| Replace waste toner box | The waste toner box is full. | Replace the box with a new one. Do not empty and reuse the old one. |
This code is not on our list – call: +48 531 916 060, we will check it in the service documentation.
The exact meaning of a code may differ between models and series. The table covers typical Konica Minolta bizhub and Develop ineo devices; if in doubt, give us the code and the model.
How to download and install the Konica Minolta universal print driver
The Universal Print Driver (UPD) is a single driver that works with most Konica Minolta devices. It is useful when your office has several models or when Windows did not find the right driver by itself.
- Open the Konica Minolta Download Centre, enter your model and choose your operating system.
- From the list of drivers download the Universal Print Driver. For office work choose the PCL6 version; the PS (PostScript) version suits graphics and PDF files from DTP software.
- Unpack the ZIP archive and run the installer (Setup64.exe on a 64-bit system). Accept the licence.
- The installer searches the network for devices. Pick yours from the list or enter its IP address – see how to read it.
- After installation open Printer properties, the Configure tab, and obtain the device information – the driver will then recognise the trays, finisher and other options.
- Print a test page.
Not printing after installation? Check that the computer and the device are on the same network, that the device IP address has not changed, and whether account tracking is enabled on the device – if so, the department or user code must be entered in the driver.
Item names in the installer may differ slightly depending on the driver version. For Develop ineo devices we will point you to the right driver by phone.
How to set up scan to SMB (a folder on your computer)
On the computer (Windows 10 and 11):
- Create a folder, e.g. Scans, preferably directly on the drive rather than on the desktop.
- Create a local user account used only by the scanner, with a password. Signing in with a Microsoft account is a common source of errors.
- Right-click the folder: Properties → Sharing → Advanced Sharing. Share the folder and give that user full control, also on the Security tab.
- Set the network as private and turn on file and printer sharing.
- Note the computer name or its IP address (the ipconfig command).
On the device:
- On the panel choose Utility → Store Address → Address Book → New → SMB. The same can be done more comfortably from a computer by entering the device IP address in a browser (Web Connection).
- Fill in: the destination name, the user ID and password of the account on the computer, the host address (computer name or IP) and the file path – just the name of the shared folder, e.g. Scans.
- Save and run a test scan.
“Server connection error” or “Login error”? Check in this order: See also the separate article on Windows 10 and 11.
- SMB version. Windows 10 and 11 have the old SMB 1 protocol disabled by default. In the device administrator settings (Network → SMB Setting → Client Setting) enable SMB 2 / SMB 3. Older models support only SMB 1 – they need a firmware update, or use scan to e-mail or FTP instead.
- Password. After changing the password in Windows it must also be changed in the device address book.
- Computer name. If it is longer than 15 characters or the device cannot find it, enter the IP address. If the computer gets its address from DHCP, give it a fixed address.
- Firewall and antivirus. File sharing (port 445) must be allowed on the private network.
- Date and time on the device. A large time difference from the computer can block the login.
- After a Windows 11 update. Newer releases require SMB signing – if scanning stopped after an update, enable SMB signing in the device settings or call us.
How to print on heavier paper
The device has to know it is getting thick paper – it then slows down and fuses the toner more strongly. Otherwise the print rubs off and the paper jams.
- Load the paper into the bypass tray print side down, no more than 20 sheets, and slide the guides up to it.
- The paper settings window appears on the panel. Choose the size and the paper type matching the weight on the packaging.
- In the driver, on the Basic tab, set Paper Tray: Bypass Tray and the same Paper Type.
- Print one copy as a test before running the whole job.
| Paper type | Weight | Feed from |
|---|---|---|
| Plain | 60–90 g/m² | trays and bypass tray |
| Plain+ | 91–105 g/m² | trays and bypass tray |
| Thick 1 | 106–120 g/m² | trays and bypass tray |
| Thick 1+ | 121–157 g/m² | trays and bypass tray |
| Thick 2 | 158–209 g/m² | trays and bypass tray |
| Thick 3 | 210–256 g/m² | trays and bypass tray |
| Thick 4 | 257–300 g/m² | bypass tray only |
Ranges according to the Konica Minolta bizhub C250i / C300i / C360i documentation. Other models may have different ranges and maximum weight – check the manual or ask us.
Toner rubs off the print? The selected paper type is too light – choose a heavier one. Paper comes out wavy? The selected type is too heavy or the paper is damp.
How to print on C5 envelopes
- Prepare the envelopes: press the air out of them and press firmly along the flap fold. Do not use envelopes with exposed glue.
- Load no more than 10 envelopes into the bypass tray, print side down, push them in as far as they go and set the guides.
- On the panel choose the paper type Envelope and the size C5.
- In your application set the page size to C5 (162 × 229 mm). In the driver, on the Basic tab: Original Size – Envelope C5, Paper Size – Same as Original Size, Paper Tray – Bypass Tray.
- Print one envelope as a test and check where the address lands. If it is upside down, turn the envelopes by 180° in the tray or change the orientation in the driver.
Envelopes come out creased? Load only as many as you print, try the opposite flap position and avoid window envelopes – the film may melt in the fusing unit.
How to replace the waste toner box (using WX-103 as an example)
The WX-103 box collects toner that did not reach the paper. It is used in many A3 Konica Minolta bizhub and Develop ineo models. When it is full, the device shows a replacement message and after a while stops printing – so it is worth keeping a spare box on site.
- Have the new box and the plastic bag from its packaging ready.
- Open the lower front door of the device.
- Release the levers locking the box and pull it towards you, keeping it level. A tilted box spills toner.
- Immediately put the caps on the openings of the used box and place it in the bag.
- Slide the new box in as far as it goes and lock the levers.
- On colour devices clean the print head glass: take out the cleaner stored on the inside of the door, slowly push it all the way into each of the four openings and pull it out – repeat a few times for each colour. Put the cleaner back.
- Close the door.
Do not empty the box and do not reuse it – spilled toner is hard to remove and the full-box sensor may not work. Do not collect toner with an ordinary vacuum cleaner or wash it off with warm water; remove it from hands and clothes with cold water.
The message does not disappear? Check that the box is pushed in fully and the levers are locked.
The description covers typical models using the WX-103 box. Details may differ between series – the device shows a replacement animation on the screen.
How to read the counter on Konica Minolta bizhub devices
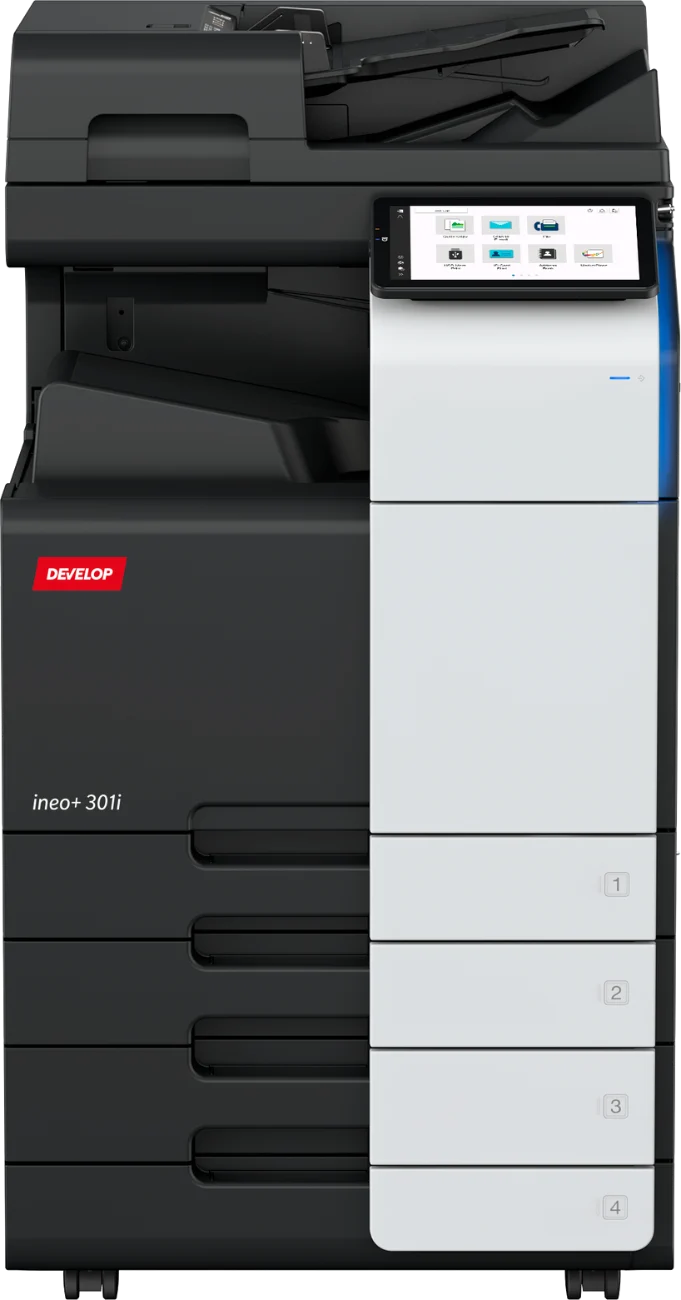
The counter reading is needed for lease and service contract billing. It takes half a minute.
Newer models (i-series, e.g. bizhub C250i, C300i, 300i):
- On the home screen tap Utility.
- Choose Counter.
- Read the Total values, separately for black-and-white and colour printing.
Older models (e.g. bizhub C224e, C258, 284e):
- Press the Menu or Utility/Counter key next to the screen.
- Tap Counter – the reading appears on the screen.
- The Print List button prints a summary on paper.
What to send us? A photo of the screen with the counter, or the total values for black and colour, together with the model and serial number of the device. If you cannot find the counter – call: +48 531 916 060, we will guide you through it.
Button names may differ slightly between series and firmware versions.
How to read the IP address on Konica Minolta bizhub devices
The IP address is needed to install the driver, set up scanning and for remote help from service.
- On the home screen tap Utility. On older models press the Menu key first.
- Choose Device Information.
- Read the IPv4 Address – four numbers separated by dots, e.g. 192.168.1.50.
What next? Enter this address in a browser on a computer on the same network – the device panel (Web Connection) opens, where you can comfortably add scan destinations. You give the same address when installing the driver.
The address is 0.0.0.0 or starts with 169.254? The device did not get an address from the network. Check the network cable at the back of the device and in the wall socket, restart the device, and if that does not help – call: +48 531 916 060.
If printing stops working every now and then, the device IP address is probably changing. It is worth setting a fixed address – we can help with that.
How to download the user manual for your Konica Minolta bizhub
The full user manual for every model is available free of charge on the manufacturer’s websites.
- Check the exact model name – it is on the front of the device, e.g. bizhub C300i.
- Open the Konica Minolta Download Centre and enter the model in the search box.
- In the list of files choose the user manuals section and the language, then download the PDF or open the manual in the browser.
- Manuals for newer models are also available online at manuals.konicaminolta.eu – you can search them without downloading.
Cannot find the manual for your model, or have a Develop ineo device? Call: +48 531 916 060 or write to us – we will send you the right file by e-mail.
How to enable AirPrint on Konica Minolta bizhub devices
AirPrint lets you print from an iPhone, iPad or Mac without installing a driver. On many bizhub devices the function is available but switched off by default – it has to be enabled once in the administrator settings.
Before you start:
- The device and the phone or computer must be on the same network. A guest Wi-Fi network is usually isolated and the printer is not visible there.
- You need the device IP address – see how to read it.
- You need the device administrator password. If you do not know it, call us.
Enabling the function:
- On a computer on the same network enter the device IP address in a browser – Web Connection opens.
- Log in as administrator.
- Open Network → AirPrint Setting and set AirPrint: ON.
- Check that Bonjour and IPP are also enabled in the network settings – AirPrint uses them.
- Save the settings. If the device asks for it, switch it off and on again.
Printing:
- iPhone / iPad: in a document or photo choose Share → Print, select the printer and tap Print.
- Mac: System Settings → Printers & Scanners → Add Printer, select the device and leave AirPrint in the Use field.
The printer is not on the list? Check that the phone is on the same network as the device, not on a guest network or mobile data. Restart the device and the router.
No “AirPrint Setting” item? Older models may need a firmware update or may not support AirPrint. Call: +48 531 916 060 – we will check your model.
Menu item names may differ depending on the model and firmware version.
How to set up e-mail sending (SMTP) on Konica Minolta bizhub devices
To send scans by e-mail, the device needs access to an outgoing mail (SMTP) server – just like an e-mail program on a computer.
Get these details from your e-mail provider or IT administrator:
- the SMTP server address (e.g. smtp.yourdomain.com)
- the port number and encryption type: usually 587 with STARTTLS or 465 with SSL/TLS
- the user name (usually the full e-mail address) and password of the mailbox the device will send from
Setup:
- On a computer on the same network enter the device IP address in a browser and log in to Web Connection as administrator.
- Open Network → E-mail Setting → E-mail TX (SMTP) and enable e-mail sending.
- Enter the SMTP server address and port number. Enable the encryption that matches the port: Start TLS for 587 or SMTP over SSL for 465.
- Enable SMTP authentication and enter the mailbox user name and password.
- Set the device e-mail address (the sender): System Settings → Machine Setting → E-mail Address. It must be the same address you log in with – otherwise the server rejects the message.
- Check in the TCP/IP settings that the device has a DNS server entered – without it the device cannot find the mail server by name.
- Save the settings and send a test scan to your own address.
Gmail and Microsoft 365: the ordinary account password usually does not work. In Gmail you need to generate an app password (requires 2-step verification; server smtp.gmail.com, port 587). In Microsoft 365 (smtp.office365.com, port 587) the administrator must allow SMTP authentication for the mailbox. Older devices may not support the security required today – a firmware update or sending through a mailbox at another provider helps.
The scan does not arrive? Check in this order: the port and encryption type, whether the sender address is the same as the login, whether the password has been changed, the date and time on the device (wrong time blocks encrypted connections) and the recipient’s spam folder. If the device reports a certificate error, call: +48 531 916 060.
Menu item names may differ depending on the model and firmware version.
Did not work? We are a phone call away
We keep adding new topics to this guide. If your problem is not here or the fault keeps coming back, contact our service team in Katowice. Give us the device model and the error code and briefly describe what happens – it speeds up the repair.
Send us a message
Contact details
Call us, e-mail us or use the form – we will get back to you with an answer or a quote.
ul. Walerego Sławka 5/Lok. 6,
40-833 Katowice, Poland